# Requirements and installation
Mail Log is installed as one package that deploys the component and both plugins together. This page lists the requirements and describes what is active after the installation.
## Requirements
Joomla
6.0 or newer
PHP
8.3 or newer
Database
MySQL 8.0.13+ or MariaDB 10.4+
PHP extension
`sodium` (for the optional encryption; present by default in PHP 8.3)
## Installation
1. Download the package `pkg_maillog-.zip`.
2. In the backend, open *System → Install → Extensions* and drag the ZIP file into the *Upload Package File* area.
3. After the upload, Mail Log is installed. You find it in the menu under *Components → Mail Log*.
There is a single ZIP file to install — the package contains the component and both plugins. Do not install the individual parts separately.
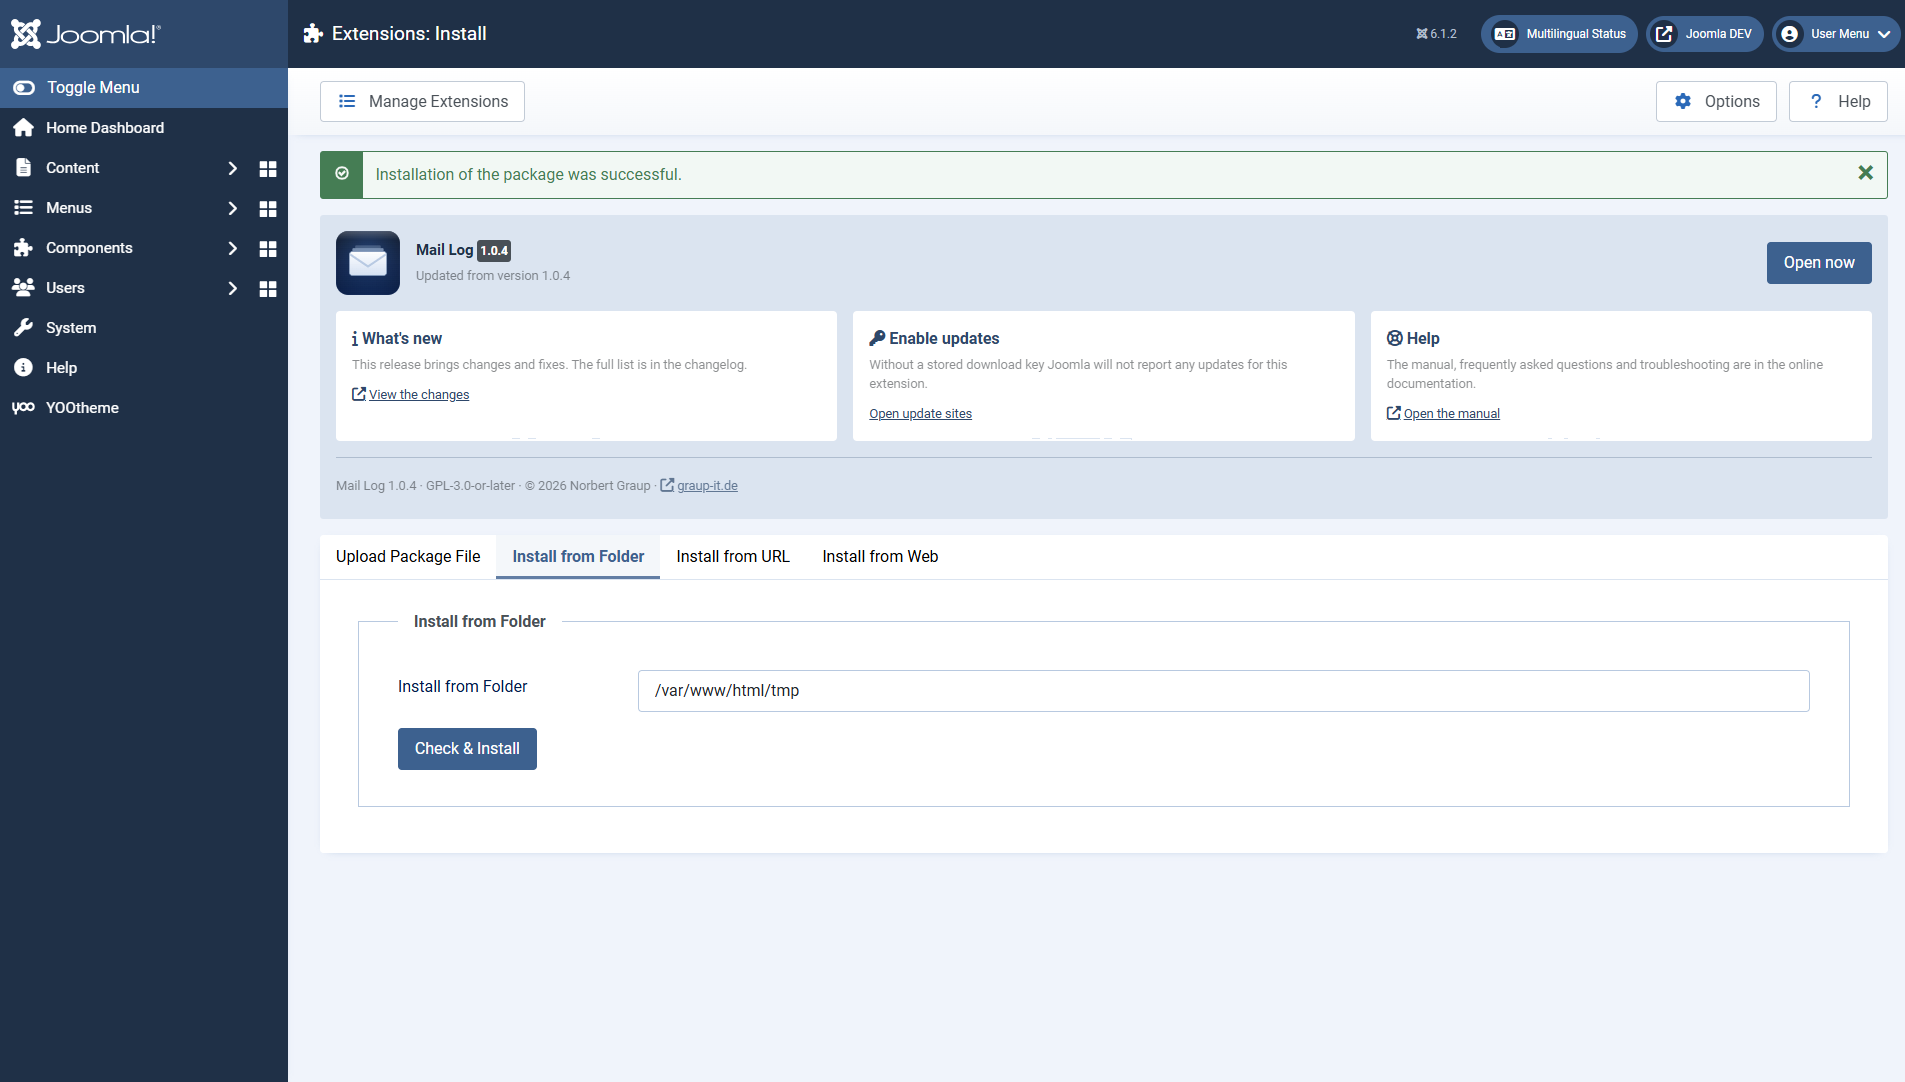 This panel greets you after the installation. It names the installed version and leads to the three things now due: the first test mail, the download key for updates, and the manual. After an update, the changelog takes the place of "Getting started".## What is active after the installation
So that Mail Log records from the start, the installation enables the **system plugin**automatically. From that moment on every mail sent is captured — you do not have to switch anything else on.
The **task plugin** is enabled as well but does nothing on its own. Its maintenance tasks only run once you set them up in the Joomla task scheduler (see the chapter [Maintenance: scheduled tasks](https://docs.graup-it.de/books/mail-log-en/page/maintenance-scheduled-tasks)).
## A first check
To verify that everything works, send a test email via *System → Global Configuration → Server → Send Test Mail*. Then open *Components → Mail Log*: the test message should appear as the most recent entry in the list.
## What is created in the database
The installation creates four tables (entries, recipients, daily statistics and a small table for throttling notifications). Uninstalling removes these tables and their data again. Captured attachment files in the protected directory are kept, however, so that uninstalling by accident destroys no evidence — delete that folder by hand if you need to.
Applies to version 1.0.5.
[Deutsche Fassung](https://docs.graup-it.de/link/77)